Knowledge Base
Save us time to focus on some great new features and try our self service knowledge base. Search for anything.
Knowledge Base
Save us time to focus on some great new features and try our self service knowledge base. Search for anything.
To get a stripe account simply go to stripe.com and register for a new account here. Then login and go to Dashboard > API or follow this link. Here you will see a publishable & a secret API key. We will need both, so copy both of them, or leave the tab open.
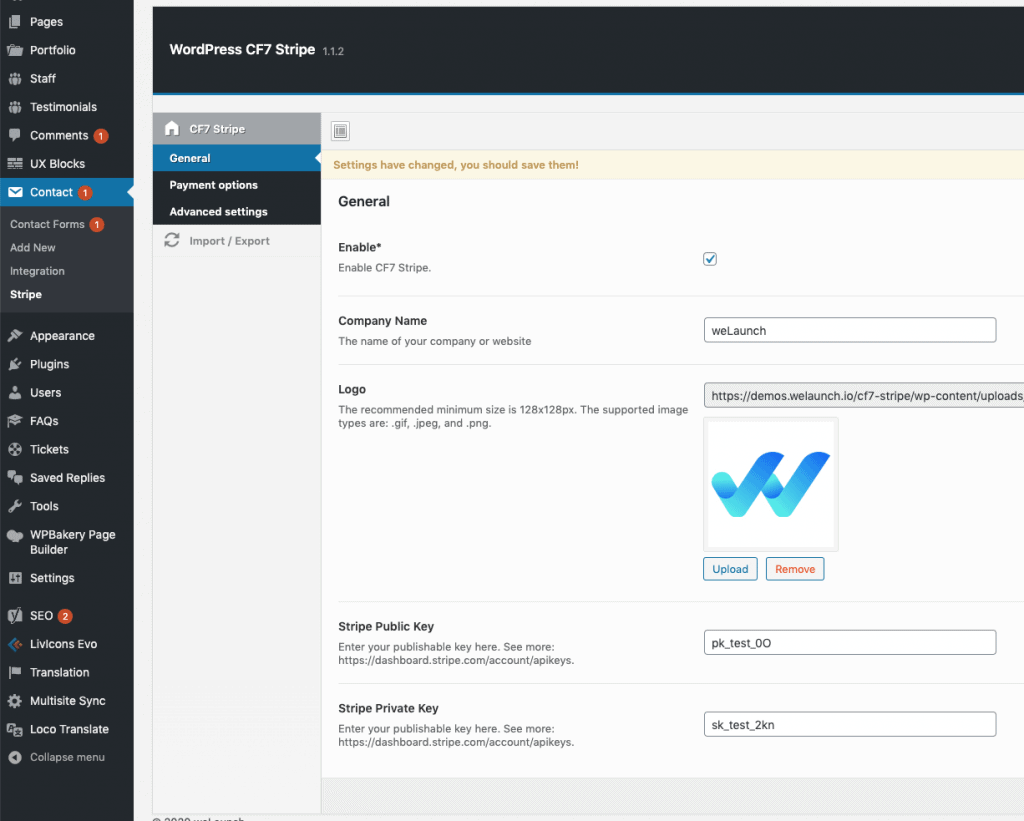
First you should make sure you can see the stripe settings panel. If you can not see the menu on the right image please make sure you have installed the Redux Framework & Contact Form 7 plugin.
In the General stripe settings you should first set your Company name and a logo in square image format.
Then you need to paste the before created Stripe API Keys. First the Publishable Key, and then the secret Key.

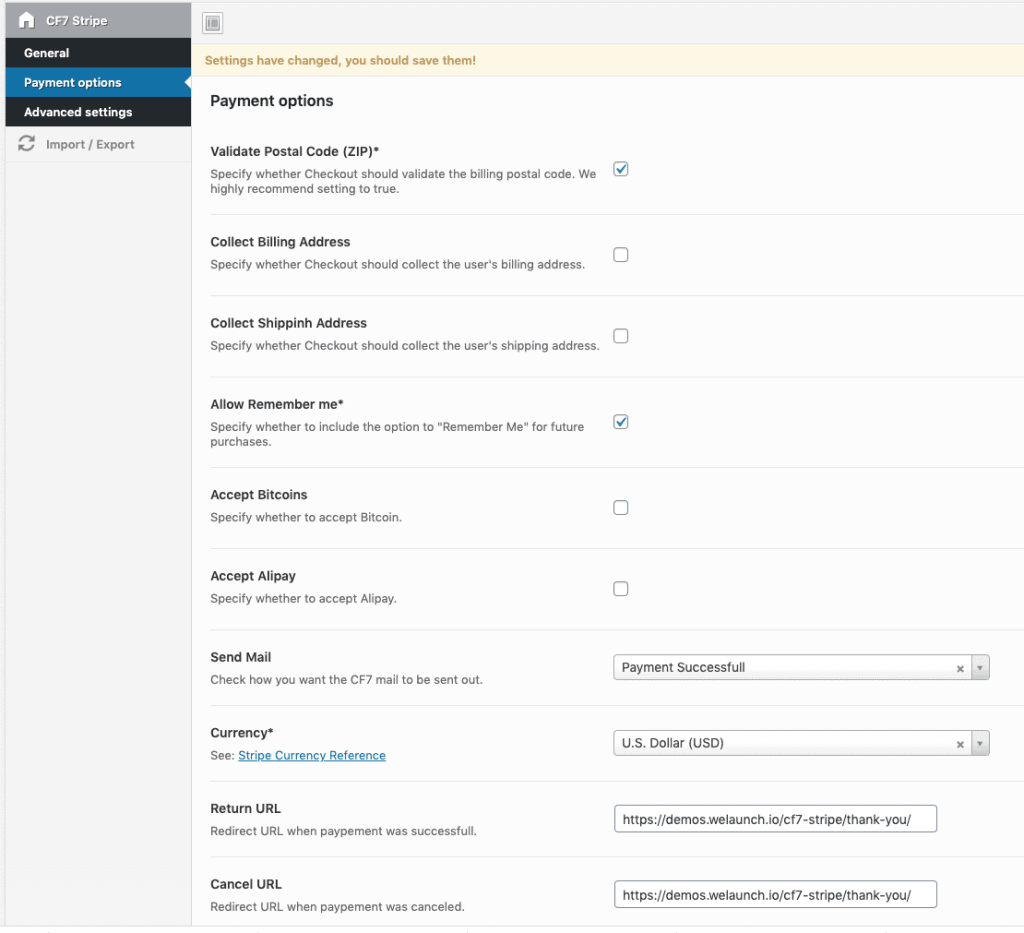
Globally you can set different Stripe payment options.

In the advanced settings you can add custom CSS or JS.
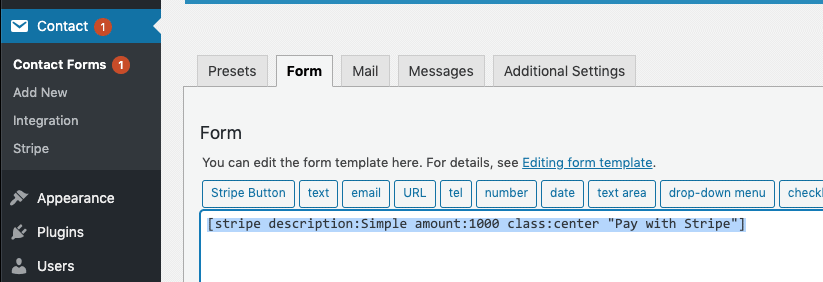
Go into your Admin panel > Contact > Add new to add a new contact form.
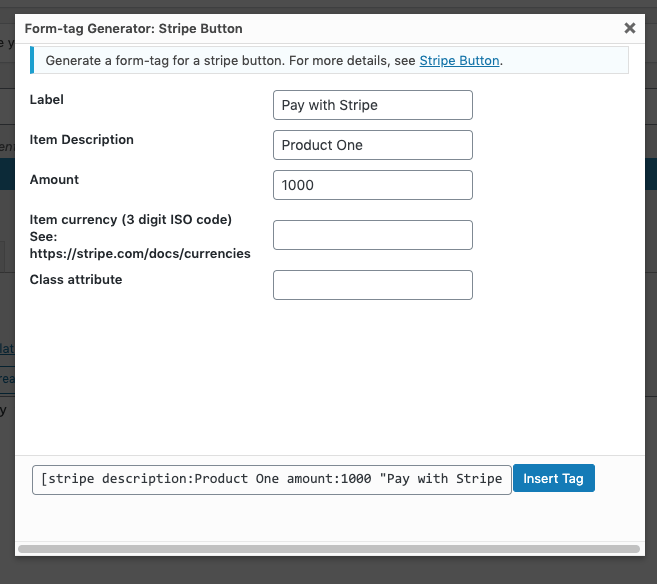
Then you will see a new button on the top called “Stripe Button”. Click this button create a stripe button inside the form.

When you want to insert the stripe button you have to set some values:
After filled out just click on insert tag e voila: You have a button on the contact form called “Pay with Stripe”.

Did not found what you was looking for?
Please submit a ticket with a detailed explanation about your problem.
Submit TicketWhen you visit any web site, it may store or retrieve information on your browser, mostly in the form of cookies. Control your personal Cookie Services here.
i would like to integrate Paypal and Stripe in contact form 7 :
I think this plugin can suit me but i would like first to speak to an operator agent is it possible ?
i need to make sure that this plugin will work for me
hpping to hear from you …
You can comment here or contact our support at [email protected].