Knowledge Base
Save us time to focus on some great new features and try our self service knowledge base. Search for anything.
Knowledge Base
Save us time to focus on some great new features and try our self service knowledge base. Search for anything.
When you have correctly installed our WooCommerce Product Retailers plugin, you should be able to see a new menu item below WooCommerce:
If you can not see that menu make sure our weLaunch Framework plugin is installed! It is free.
You should watch the video below in order to understand how our plugin works.
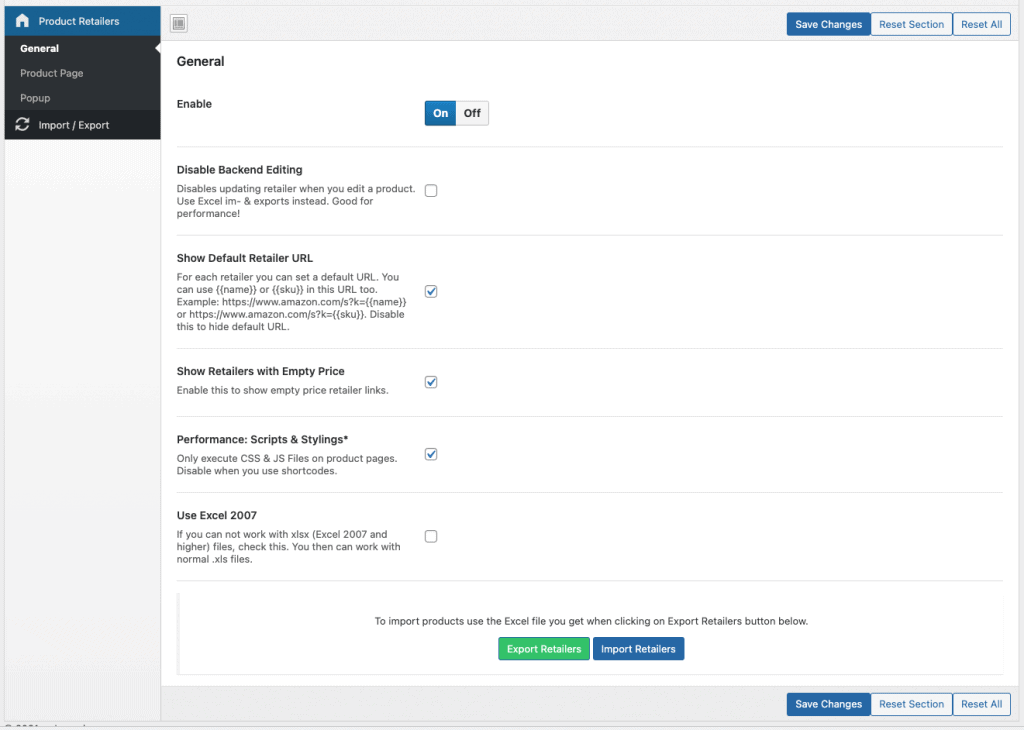
To enable our product retailers plugin simply go into plugin settings > general. Here you can turn the plugin on and off. Furthermore you are able to disable the backend editing of products to only use the built in excel im / exports.
Another important setting is to show a default retailer URL. This allows you to set a default URL on retailer, not product level, and dynamically built retailer links. Example amazon.com/s?k={{name}} will transform into an amazon link that contains the search for your product name.
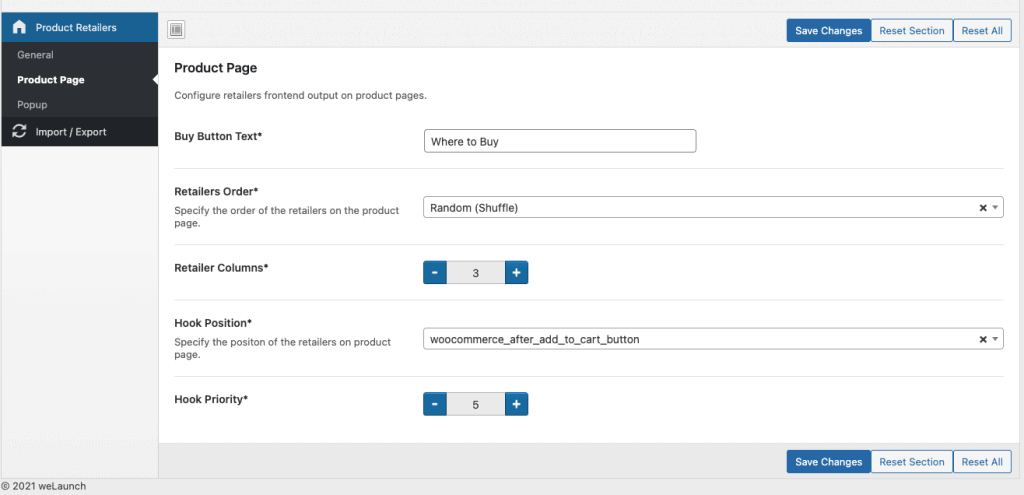
To showcase all retailers on your product pages, our plugin uses a where to buy button. This appears by default after the regular add to cart button, but of course can be changed using the hook position & priority settings.
Furthermore you can change the button text, but also the order how retailers should appear:
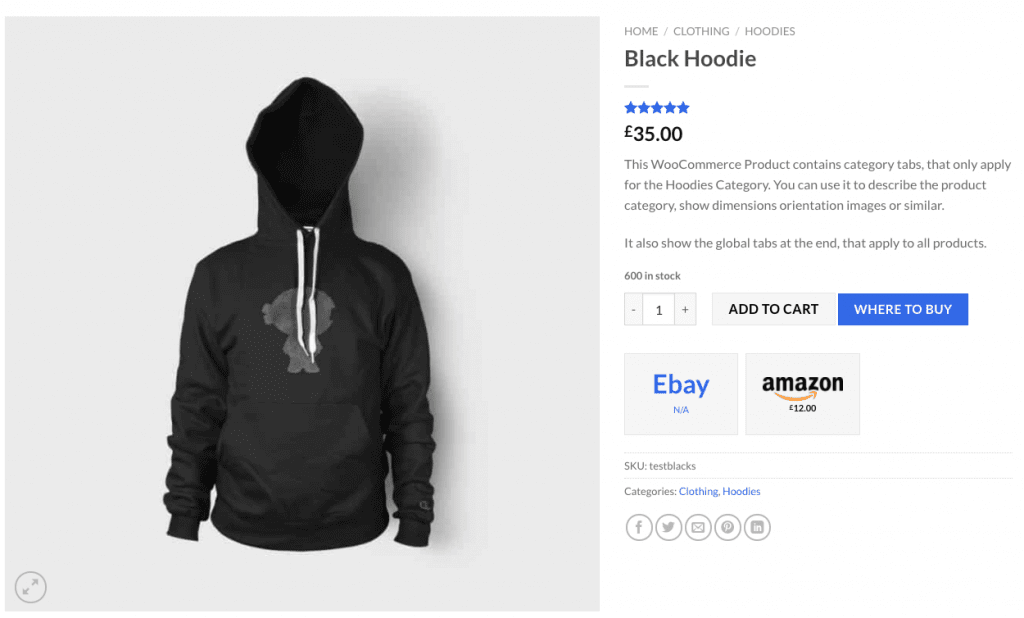
In below image you see an example of how the where to buy button can look like. You also see it displays directly after the WooCommerce add to cart button.

After clicking on the button, our plugin will get all retailer links dynamically via AJAX (to support caching tools) depending on your preferred sort order. It will then show off the retailer image + price below the button.
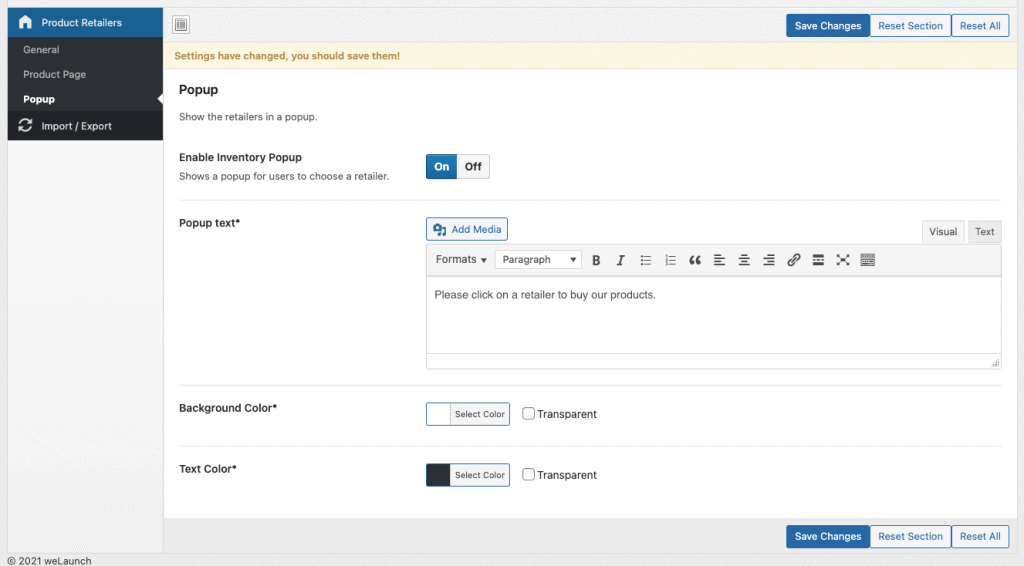
Beside the basic style of showing the retailer images directly below the where to buy button, you can also use our popup style. In the popup settings section you can enable & configure this. Additionally you are able to change the popup texts and colors.
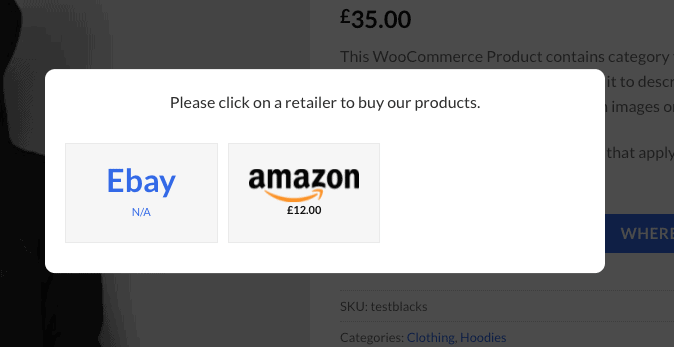
Below you see an example how the retailer images & links show off in the popup.
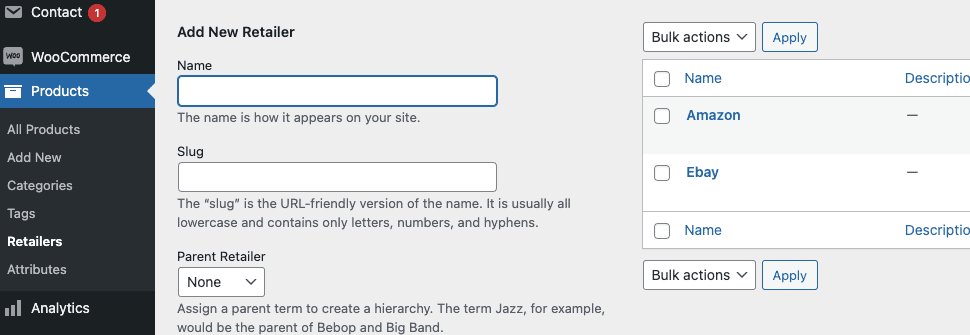
New or existing retailers can be managed in your wp admin page below Products > Retailers. Here you see a list of all retailers including name, description and links.
When editing a single retailer you can change the name, slug, image and also set a default retailer URL. This can be used to build dynamic links when you do not want to set them manually for each product. Use variables like {{name}} or {{sku}} in this default URL and they get replaced on the product page.

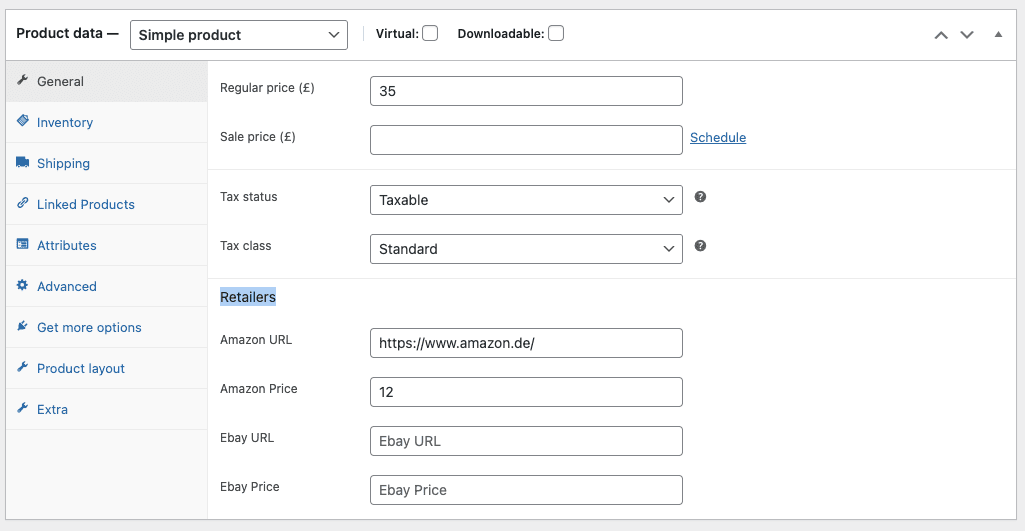
To set links & prices manually, simple open a product in your backend. Then in the Genera Tab you find a new section called “Retailers”. Here you can set the retailer URL and price. When you do not see this, make sure you did not disabled backend editing in our plugin settings.
If you do not want to edit all products manually, you can also use the excel import & export functionality, that you find in plugin settings > general.
Did not found what you was looking for?
Please submit a ticket with a detailed explanation about your problem.
Submit TicketWhen you visit any web site, it may store or retrieve information on your browser, mostly in the form of cookies. Control your personal Cookie Services here.