Settings Panel
You can find the everything inside your Admin Panel inside Store Locator -> Settings. If you can not see this menu make sure the Redux Framework plugin is installed and activated!
General Settings
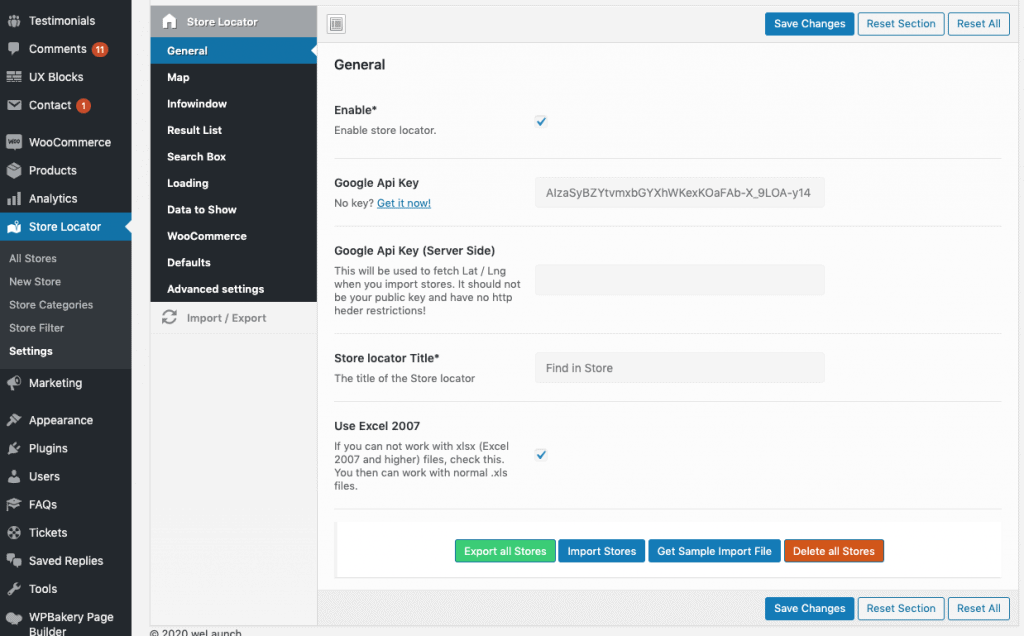
In the General settings you have to enable the plugin first. Then you should enter your Google API Key for the frontend (get it here). Also please make sure you have setup your API Key correctly in the Google Console:
- Allow your domain to access the key
- Enable: Google Places API Web Service
- Enable: Google Maps JavaScript
- Enable: Google Maps Geocoding
Also you could set a server side key. This will be used only when importing stores without lat / lng to grab the latitude and longitude data from Google directly.
Below this you can …
- Export all stores
- Import Stores
- Get a sample custom import file (this uses your categories / filter)
- Delete all stores
Map Settings
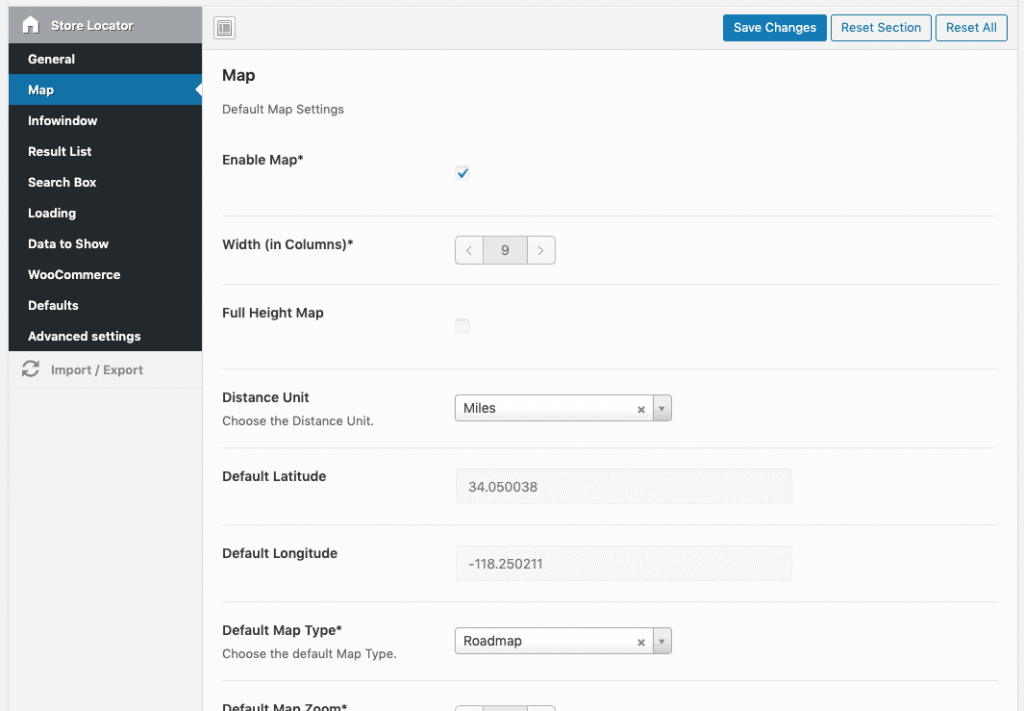
First you can enable or even disable the map. Then you can set a width and select the distance unit (miles or kilometer). After this you can set some defaults: Latitude, Longitude, Map Type & Map Zoom Level.
For the radius you can set the Radius select steps splitted by comma and set a default radius. You can choose if you want to draw a radius circle and if you want to extend the map if no stores where found.
You should set some default icons for the stores (even if you have set an icon on category or single store level). The logic for icons is the following:
- If a custom icon on single store is set -> take this
- If a custom category icon is set:
- If a store is only in one category -> take this icon
- If a store has multiple icons, the icon only changes when a category has been choosen in frontend
- If no store / category icon is set -> take the default Icon
At the bottom you can style the map as you like via some custom JS stylings. Examples can be taken from https://mapstyle.withgoogle.com or https://snazzymaps.com
Infowindow Settings
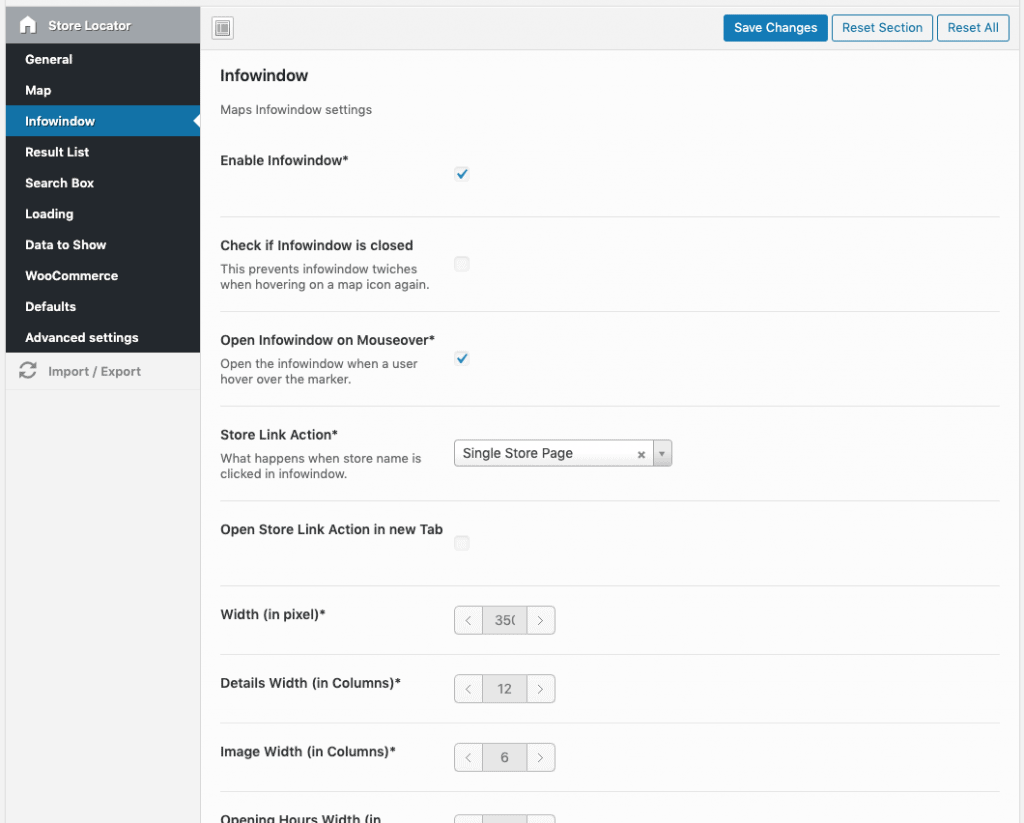
The infowindow (when you click on a store) can be enabled or disabled. While enabled you have the option to set a custom width for the infowindow itself. Then you can specify the column layout for the details, the image and the opening hours.
Result List Settings
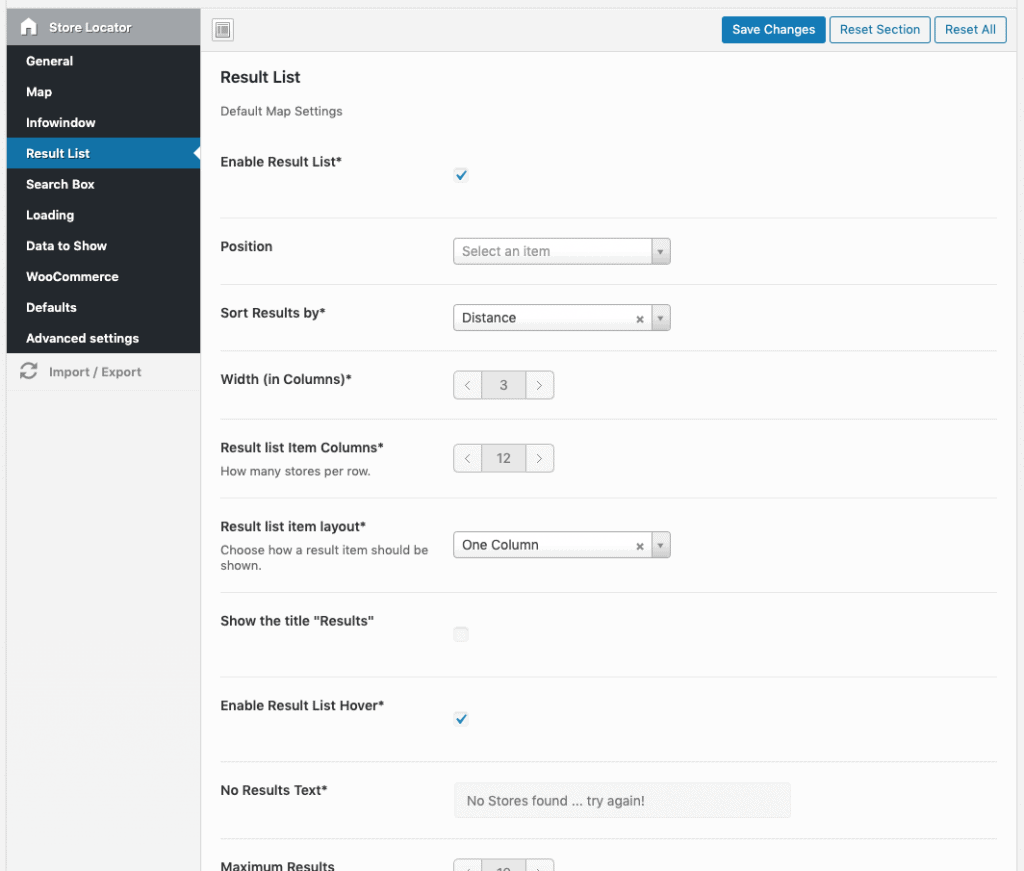
Enabling the result list will give you the opportunity to choose a position (left / right sidebar, above / below the map). You can choose the result list order, the width and if you want to show the title or not.
Furthermore you can set …
- a “No Results Text”
- Maximum Results
- Store Link Action
- Show Result List Icon
- Show Result List Premium Icon
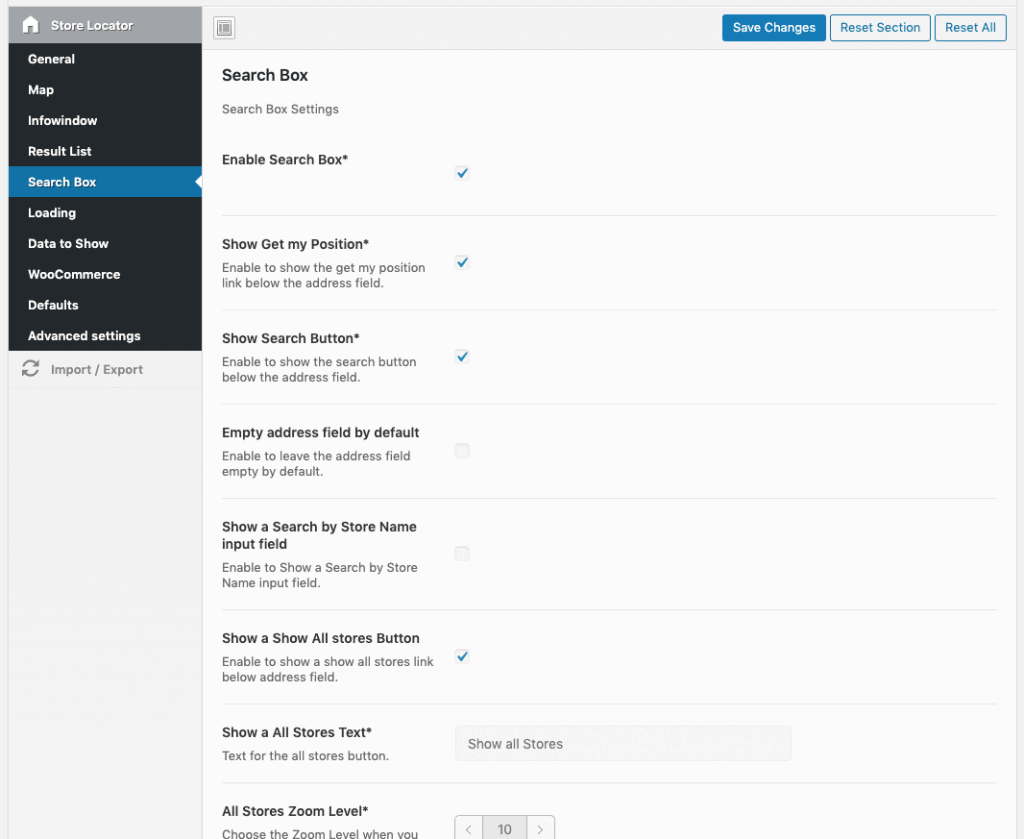
Search Box Settings
In the search box settings you can show the “Get my Position”-Link, show the Search Button, Search Title, Active Filter or Filters in total. Also you can set a default category filter and button text.
Furthermore you can:
- Enable Auto Geolocation
- Save Auto Geolocation in Cookie
- Enable Autocomplete
- Restrict Types
You may restrict results from a Place Autocomplete request to be of a certain type. If for example you want to hide the street from autocomplete search, you have to select the “Regions” - Restrict Autocomplete to a country (2 character ISO-Codes only! You can insert for example us to limit the autocomplete to only search in United States)
- Position
- Width (in Columns)
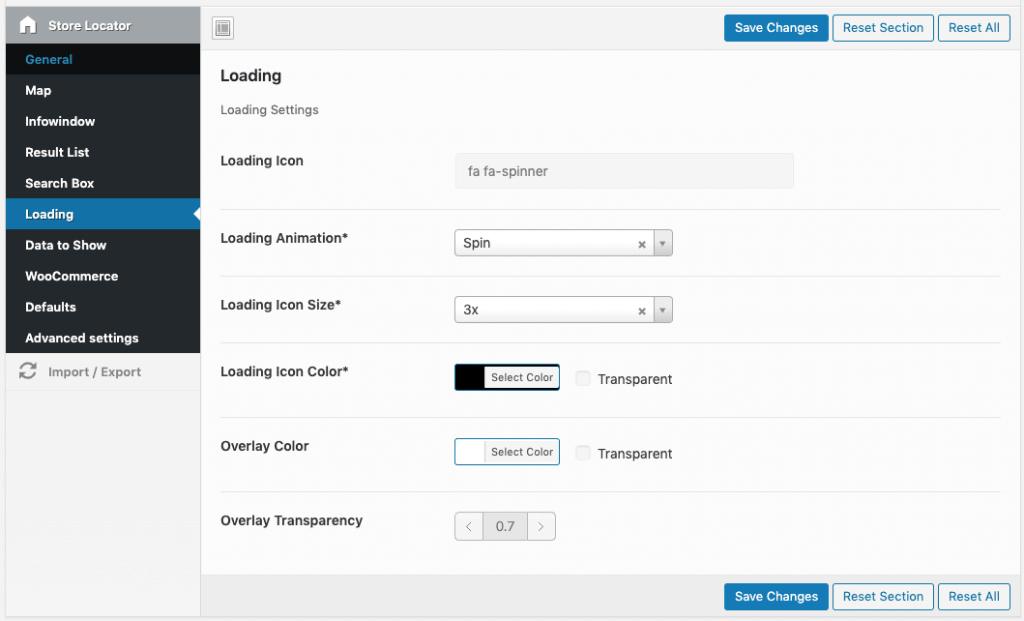
Loading
When stores are being fetched, a loading icon will be displayed. With our plugin you can totally customize the icon. Choose a new icon, color, background color and more.
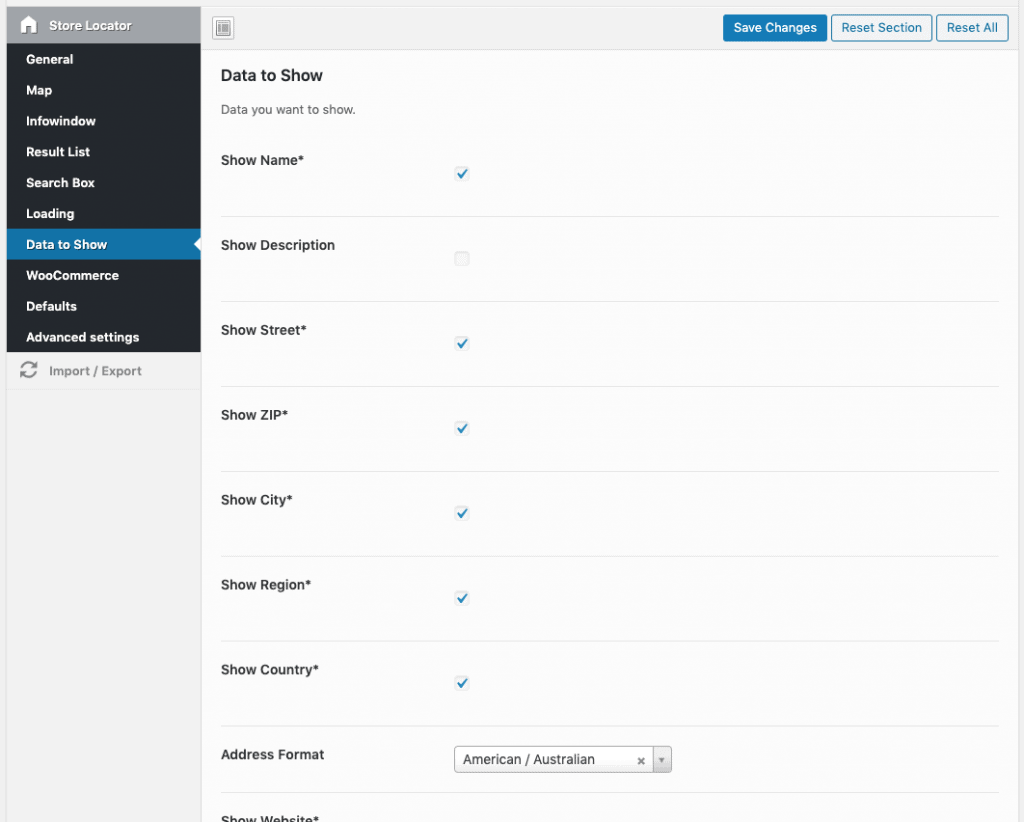
Data to Show
In total you can customize 20 different data to show. In example you can specify if you want to show a store’s name, the description, website, image, opening hours …
You can also enable or disable the call to actions here. These are displayed as button in the single result list.
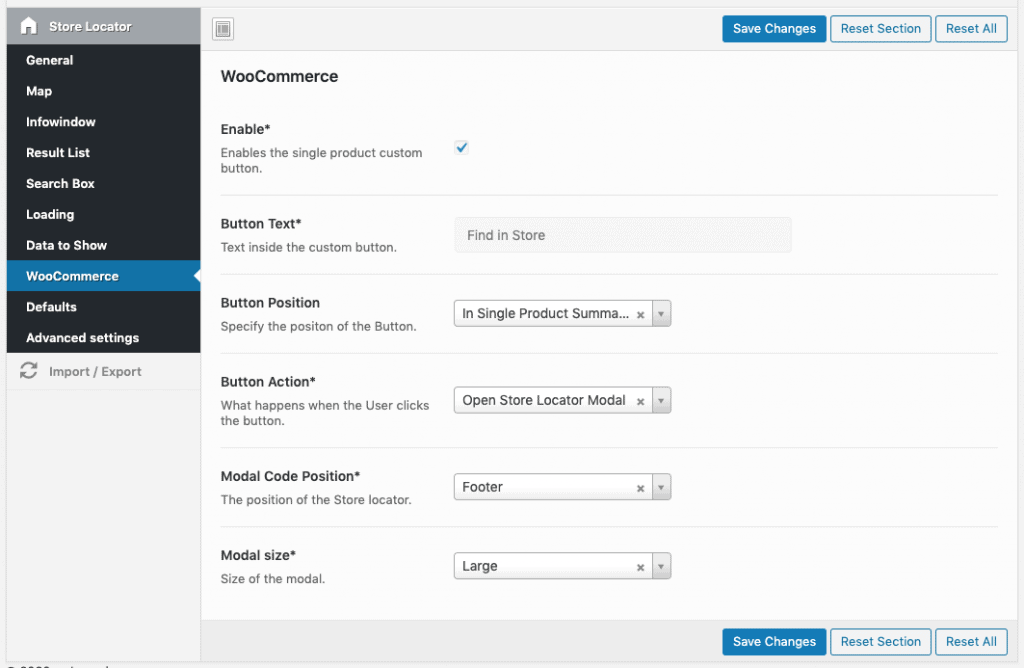
WooCommerce – Store Locator Button
When you have a WooCommerce Shop you can show the store locator button on single product pages. Within the store locator button settings you can choose where the button should show up and how the modal should look like.
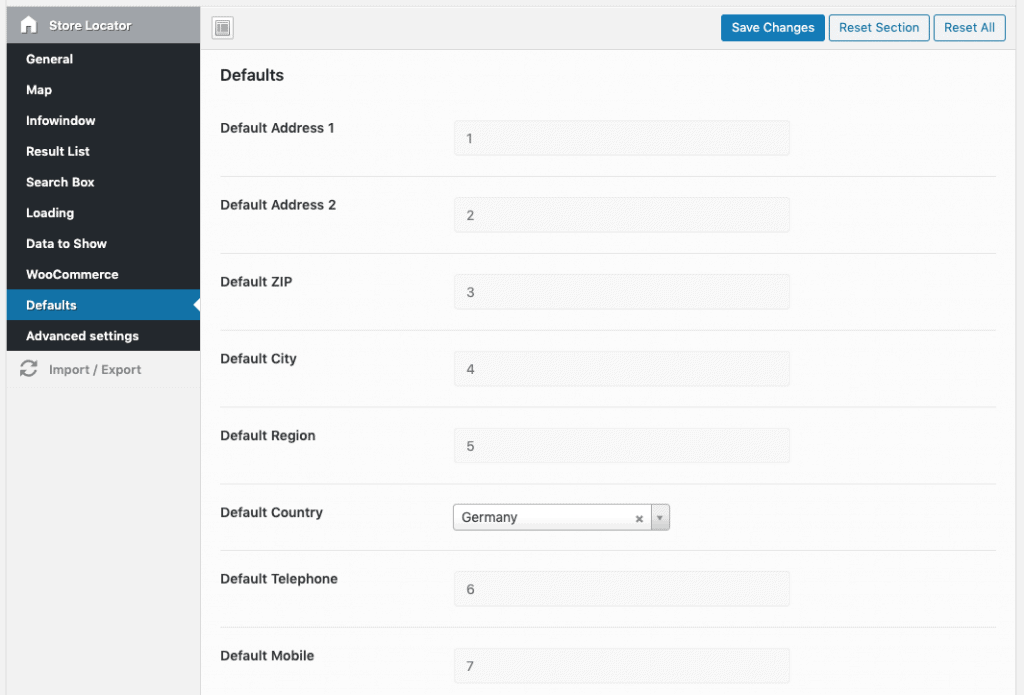
Default Store Values
Setting up default store values helps you to easily create stores, that always have the same data (like a website, country or opening hours). Just set a default value and everytime you manually create a store the defaults are filled out.
Advanced Settings
Here you can add some custom CSS or custom JS. Also, if you have problems with the layout, you can disable Bootstrap here.