If you find any bugs or enhancements in this script get in touch with a clear description of the problem so we can fix it. We do not support modifications!
Settings Menu
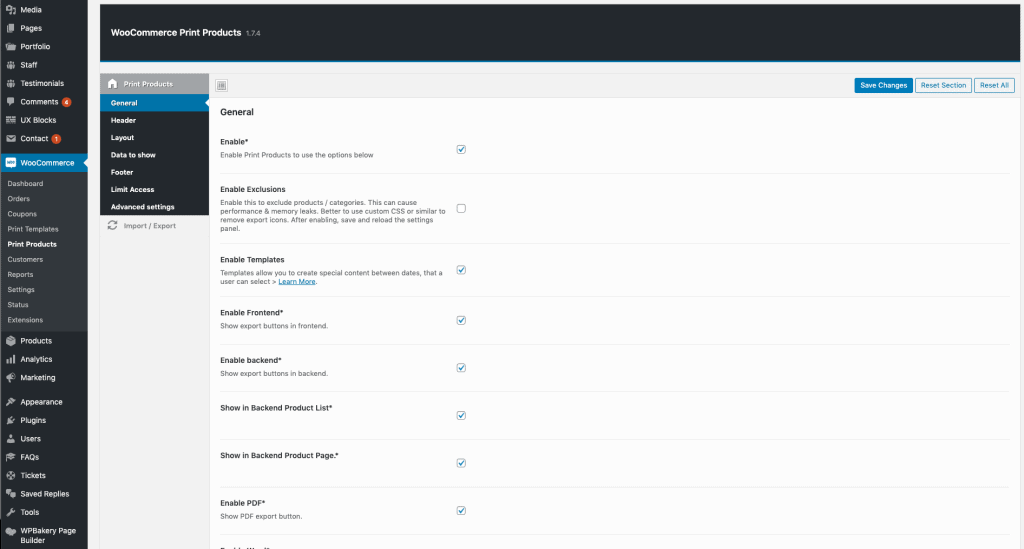
In order to setup the plugin you should be able to see the Print Products Menu under the WooCommerce menu. If you can not see the menu make sure the Redux Framework plugin is installed and activated.
General Settings
In the General settings you of course should enable the plugin itself. Then you can enable the PDF, Word or Print buttons – depends on your needs. For the icons you can specify the position, size and the display type (horizontal or vertical).
At the bottom of the general settings you you exclude / include products or even categories, where the button should appear / disappear.
Header Settings
In the header settings you can set a custom Header for all pages. Choose a layout like 1/2 + 1/2 and you can set custom data into the first half element and another data into the second half element. Set a logo, a custom text, the page number, blog information, product name, export information (date) or a QR-Code for each block.
Furthermore you can specify the header height, margin and add a custom text after the header like contact information or whatever.
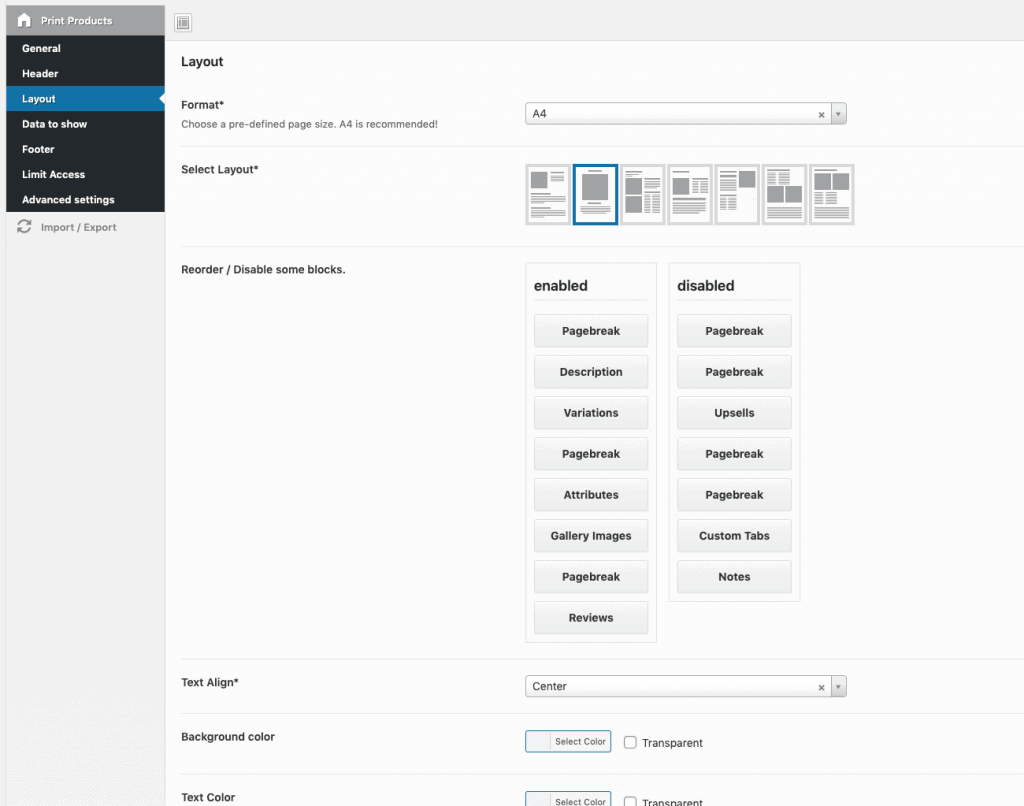
Layouts
First you can choose from 3 different layouts. Then you can reorder content blocks (variations, description, gallery, attributes, upsells, reviews) and add pagebreaks.
Then you can set additional stylings like text alignment, background color, text & link color and multiple font settings for normal and header texts.
Data to show
This is the most powerful options section. You can set what data you want to show for more about 20 data types. For example you can show image, sku, title, price, description and and and …
All can be disabled / enabled by yourself! And the best? You can even show custom Meta fields with your own attribute name.

Same as the header settings, in the footer settings you can set a custom footer for all pages. Choose a layout like 1/2 + 1/2 and you can set custom data into the first half element and another data into the second half element. Set a logo, a custom text, the page number, blog information, product name, export information (date) or a QR-Code for each block.
Furthermore you can specify the footer height, margin and add a custom text after the footer like contact information or whatever.
Limit Access
Maybe you only want to show the export buttons to some specific user roles. Then you can set the user roles here and activate the limit access option.
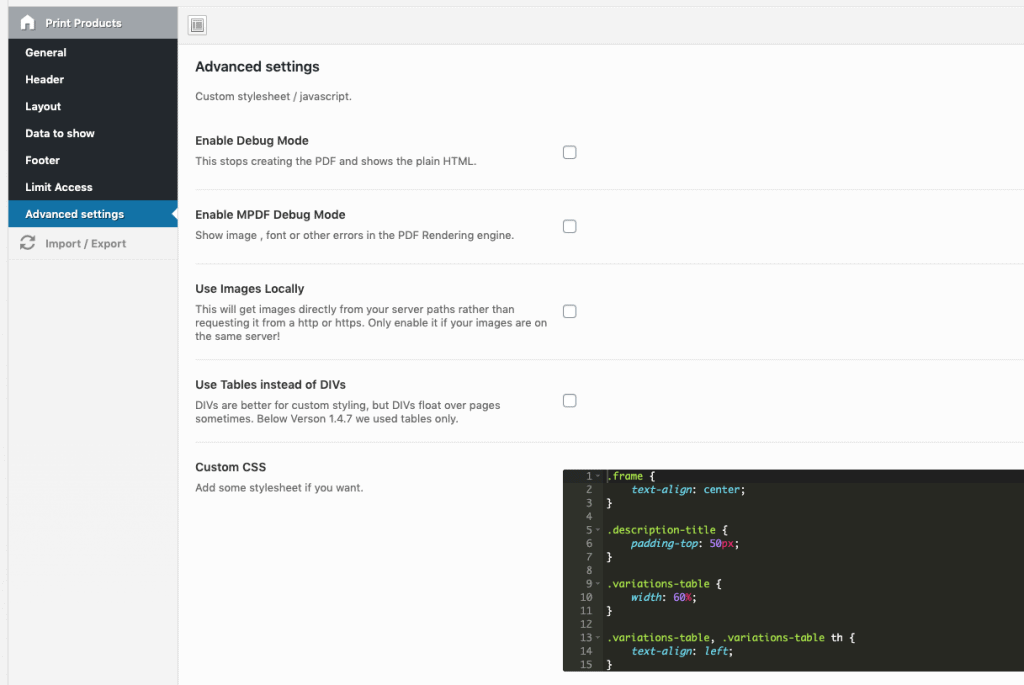
Advanced Options
Enable debug mode will stop rendering the PDF, but show you the plain HTML. This you can use to inspect the HTML structure and apply CSS changes. These CSS changes you can put into the custom CSS field below.