Cuando hayas instalado el plugin verás 4 nuevos menús de configuración debajo del Menú WooCommerce en la barra lateral izquierda.
- Guías de compra
- Nueva guía de compra
- Categorías
- Ajustes
El menú todas las guías de compra te muestra una visión general de todas tus guías de compra. Desde ahí, o desde el menú de administración, puedes empezar a crear tu primera guía de compra.
Crear una guía de compra
Para crear una guía de compra hay que seguir los siguientes pasos
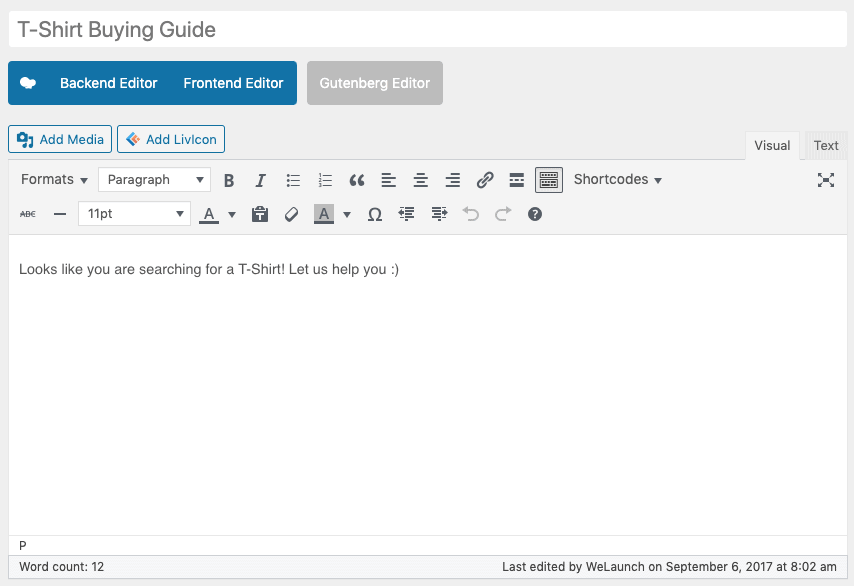
Paso 1 – Establecer las descripciones de las guías de compra
- Establecer un nombre
- Establecer una descripción
- Asignarlo a una categoría de productos (barra lateral derecha)
Step 2- Setup General Information
En los ajustes generales de cada guía de compra puede establecer un estilo (Texto, Imagen o Modal) para la apariencia de la guía (véase más abajo). A continuación, puede establecer el estilo de progreso (migas de pan o barra de progreso).El siguiente paso es fijar la posición de la Guía de Compra – si “Tras la descripción de la categoría” por ejemplo no funciona, entonces pruebe con otra posición. Problemas con la posición de la mayoría de las veces se producen, porque el tema no es 100% compatible con WooCommerce.La activación de las elecciones realizadas mostrará a sus usuarios las elecciones que ha realizado al final de la guía. Mostrar en la página de la tienda esta guía de compra actual en la página general de la tienda WooCommerce.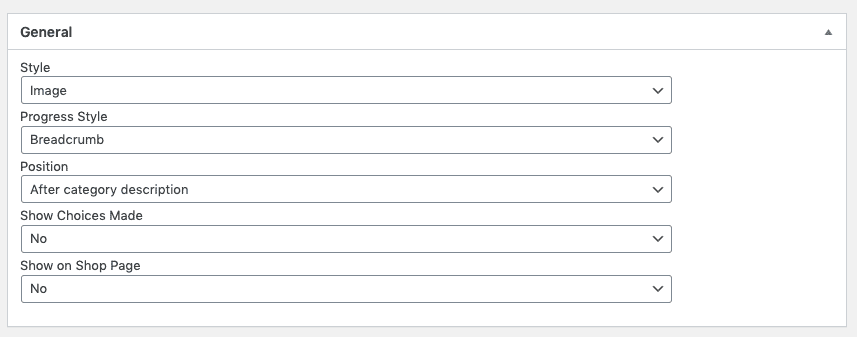
Paso 3 – Crear preguntas
Empiece a crear sus preguntas estableciendo la pregunta misma. A continuación, añada una miga de pan (importante si utiliza el estilo de miga de pan de progreso), cree un texto de introducción y un tooltip para su pregunta si lo desea. A continuación, puede activar un “Saltar elección” y establezca un texto personalizado para esta opción.Si selecciona un Atributo WooCommerce como opciones, esto no permitirá crear opciones manualmente (ver más abajo).
Paso 4 – Crear opciones
Si no quieres crear opciones automáticamente a partir de los atributos de tu WooCommerce puedes configurarlas individualmente.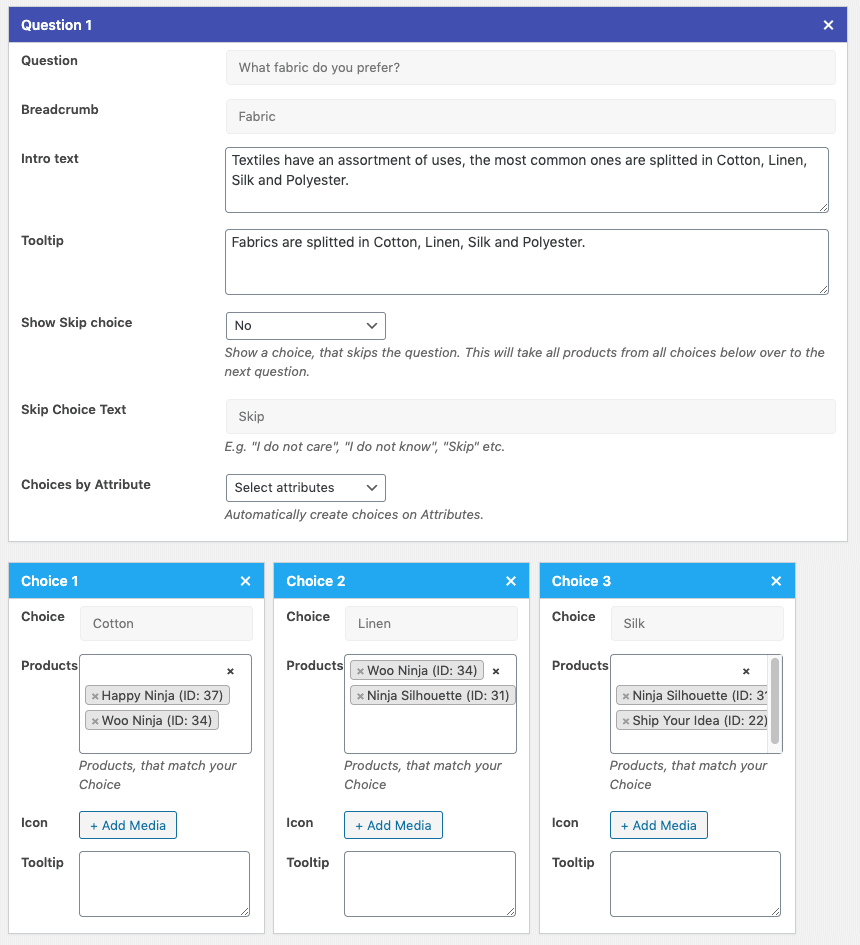
Paso 5 – Crear una opción manualmente
Una elección consiste en un nombre y productos asignados. Digamos que tiene una pregunta “Color?”y, a continuación, establezca su primera opción en “Negro” (o cualquier otro color) y asigne todos los productos negros a esta opción.Además, si lo desea, puede personalizar el icono de selección y la información sobre herramientas.